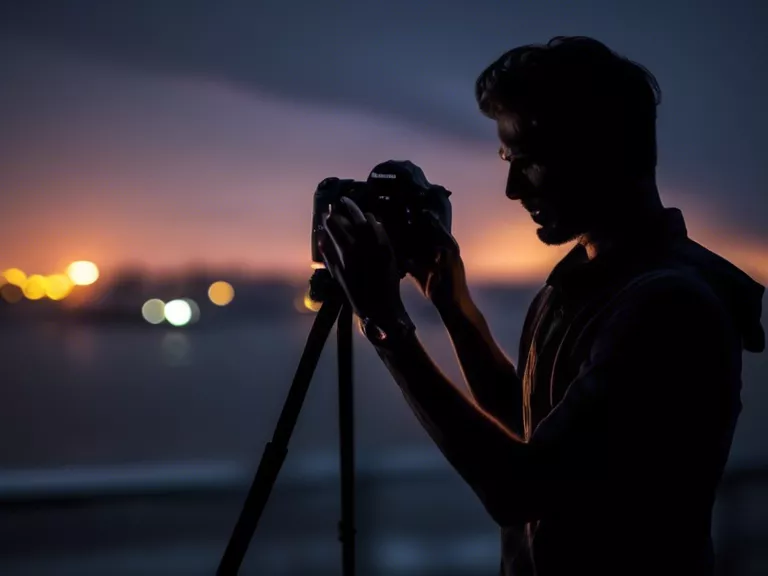
The key to capturing great photos in low light conditions lies in understanding how to adjust your camera settings. By mastering the best camera settings for shooting in low light, you can achieve stunning results even in challenging lighting situations. Here are some tips to help you optimize your camera settings for low light photography.
Use a Wide Aperture: One of the most crucial settings for shooting in low light is to use a wide aperture. This allows more light to enter the camera, resulting in brighter images. Set your aperture to its lowest f-stop number (e.g., f/1.8 or f/2.8) to maximize light intake.
Increase ISO: Another important setting for low light photography is adjusting the ISO. Increase your camera's ISO to a higher value (e.g., ISO 800 or higher) to make the sensor more sensitive to light. Be mindful of noise that can accompany high ISO values.
Slow Down Shutter Speed: To compensate for the lack of light, you may need to slow down your shutter speed. This allows the sensor to gather more light over a longer period, leading to better-exposed images. Use a tripod to prevent camera shake when shooting with slower shutter speeds.
Use Manual Focus: In low light conditions, autofocus may struggle to lock onto subjects. Switching to manual focus allows you to precisely control where you want the focus to be, ensuring sharp images even in dimly lit environments.
Shoot in RAW: Capturing images in RAW format gives you more flexibility in post-processing, especially in low light situations where lighting and colors may need adjustment. RAW files retain more image data, allowing for better fine-tuning during editing.
By mastering these camera settings for shooting in low light conditions, you can improve the quality of your photos and expand your creative possibilities in challenging lighting situations.
